INTRODUCTION
Sitecore has its Serialization functionality for a long time, but with the release of Sitecore 10, One of the eye-catching features we experienced in the platform is its OOTB serialization. Over the past, we have used many tools such as TDS, Unicorn, Sitecore Packages, etc through which while working in a team we can share the items, templates, renderings, etc.
Sitecore greeting us with a brand new way to serialize the items with SCS and we are no longer dependent on the other Version Control System such as Unicorn in which we can have the YAML files for each item or the TDS for serializing the items.
Sitecore Content Serialization (SCS) comes with the JSON based configurations and while including and excluding the items we have certain options to configure/choose.
MODES TO SERIALIZE
Combining the best of TDS and Unicorn, SCS gives us the flexibility to move the content between environments and we have 2 different tools for that -
1. Sitecore CLI - A Command line tool to interact with your Sitecore Instance
2. Sitecore for VS - A graphical tool to interact with Sitecore using Visual Studio.
INSTALL SITECORE MANAGEMENT SERVICE
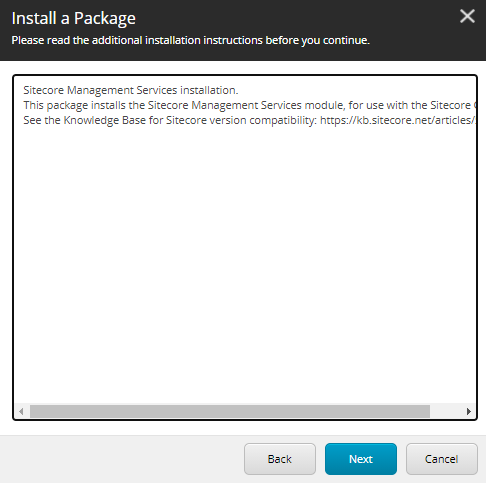
You must install the Sitecore Management Service package to your CM instance and you can download the package from
Sitecore CLI Download page and straight away install this package to Sitecore Instance.
INSTALL SITECORE CLIBefore installing CLI make sure you have installed 3.1 version of .Net Core because the
"dotnet new-tool manifest" command is available only in .Net Core 3+ version.
Create a new project in Visual Studio and make sure you follow the Helix Architecture and go to the Project folder (C:\Users\rohanb\source\repos\Example10) in my case and open the PowerShell in administrator mode and run the following commands
|
| dotnet new tool-manifest |
| dotnet tool install Sitecore.CLI --add-source https://sitecore.myget.org/F/sc-packages/api/v3/index.json |
|
|
| # To install the Sitecore CLI as a global tool (not recommended): |
| dotnet tool install Sitecore.CLI -g --add-source https://sitecore.myget.org/F/sc-packages/api/v3/index.json |
After successfull installation you can verify the installation using "dotnet sitecore" because as per Sitecore installation document it says to hit only "sitecore" but it throws an error.
LOGIN TO SITECORE INSTANCE WITH SCLI INTERFACE
There are two ways to login into Sitecore using SCLI.
1. An interactive user login, using device code flow.
2. A non-interactive client login, using client credentials flow.
INTERACTIVE USER LOGIN
Before login into Sitecore, we have to initialize SCLI, Open the Powershell in administrator mode and go to the Project Folder and run the following command -
"dotnet sitecore init"
As you hit this command, in the file system you can see the sitecore.json file and .sitecore folder.
and to login into sitecore run this command (change the parameters accordingly) -
"dotnet sitecore login --auth https://sc10identityserver.dev.local --cm https://sc10sc.dev.local --allow-write true"
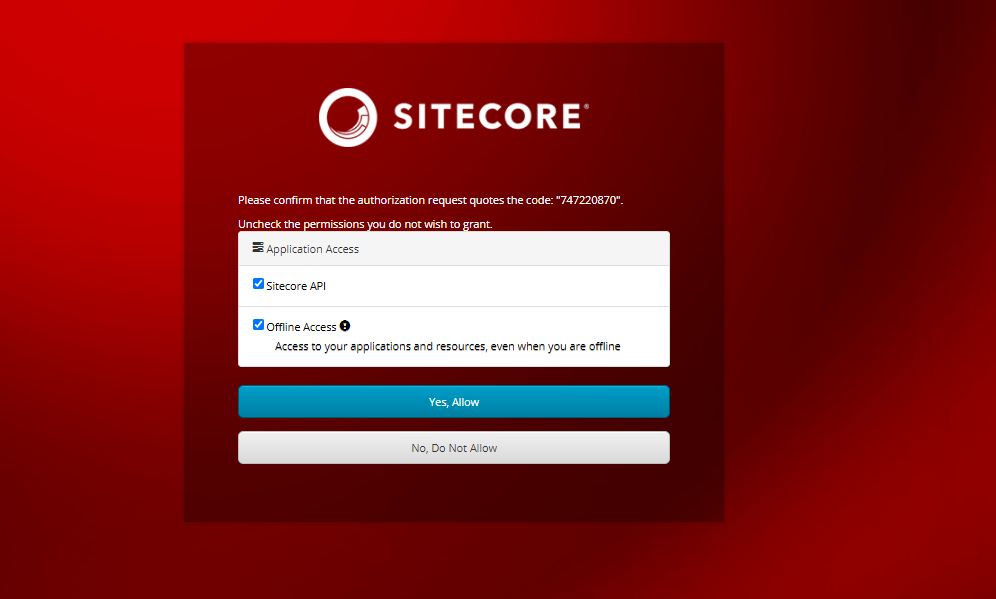
after you hit this command, a Sitecore login window will start opening in your browser and click Yes, Allow.

Now create a file under your project folder Serialization.modules.json in my case and add the following details, Remember if you are adding multiple paths then do have the templates on the top else you will get an error while deserialization.
After setting all this, use the below serialization command for the push & pull activities where ser is the shorthand for the serialization keyword. After running the pull command, you can see the YML files in file system.
"dotnet sitecore ser pull"
"dotnet sitecore ser push" For other command or the help section run the command
"dotnet sitecore --help"
Happy Serializing !!


Comments
Post a Comment