Introduction
In this blog post, we will walk through the process of setting up a new React application using Vite. We will cover the installation process, the structure of the created project, and how to run the application in both development and production modes. By the end of this guide, you will have a solid understanding of how to bootstrap a React application with Vite, allowing you to enjoy a faster and more efficient development workflow.

What is Vite?
Vite is a modern front-end build tool that a faster and leaner development experience for modern web projects. It is designed to address the slow build times and high resource usage of larger single-page applications.
Prerequisites
- Node.js: React is a JavaScript library, and Node.js allows you to run JavaScript on your server or your machine. You should have Node.js installed with a version equal to or greater than 10. You can download it from here.
- npm (Node Package Manager): npm is the default package manager for Node.js. It comes bundled with Node.js, so when you install Node.js, you automatically get npm installed on your machine.
- A Text Editor: You need a text editor to write your code. Some popular text editors for web development are Visual Studio Code, Sublime Text, and Atom.
- A Web Browser: You need a web browser to view your React application. Google Chrome, Mozilla Firefox, Safari, and Microsoft Edge are some of the commonly used web browsers.
- Basic Knowledge of JavaScript, HTML, and CSS: While not a technical requirement, it's beneficial to have a basic understanding of JavaScript, HTML, and CSS since React is a JavaScript library for building user interfaces.
Steps to Create application in React
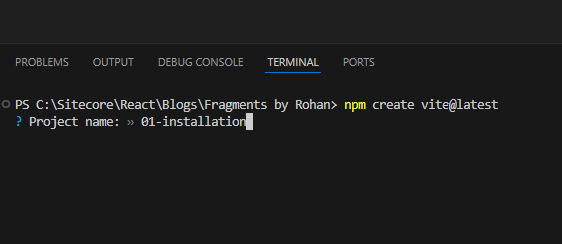
- Create a new project: To create a new React project using Vite, open your Visual Studio code terminal and run the following command.
npm create vite@latest
- Select Framwork and Variant: From the below list select the variant and the framework and hit enter.

- Install dependencies and run the application: Once application is created we need to install the dependencies to run/start the application. Run the below commands as shown in order.
cd 01-installation
npm install
npm run dev


Once done, you can see this screen and you can access the application using http://localhost:5174.

Tip: Press o key and hit enter, the application will automatically open in your default browser.

,
Note: The port of the application can change if you have multiple applications running, by default 5173 port number is used if you are creating your app first time.
Note: The port of the application can change if you have multiple applications running, by default 5173 port number is used if you are creating your app first time.
Thanks, Happy Reacting!! 🚀
Comments
Post a Comment